If you often find yourself emailing the same group of people, streamline the process by setting up a mailing list with Outlook Contact Group.
Creating a Contact Group
First of all, go to the Outlook directory. Then on the Home menu, click New Contact Group.
Give a Name to your Contact Group.
Add Members to the Contact Group
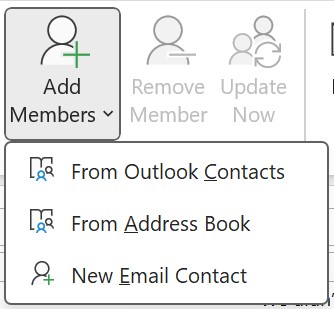
To add people to your group, click Add Members.
3 options are available:
- From Outlook Contacts (contacts you have saved)
- From Address Book (your company‘s directory)
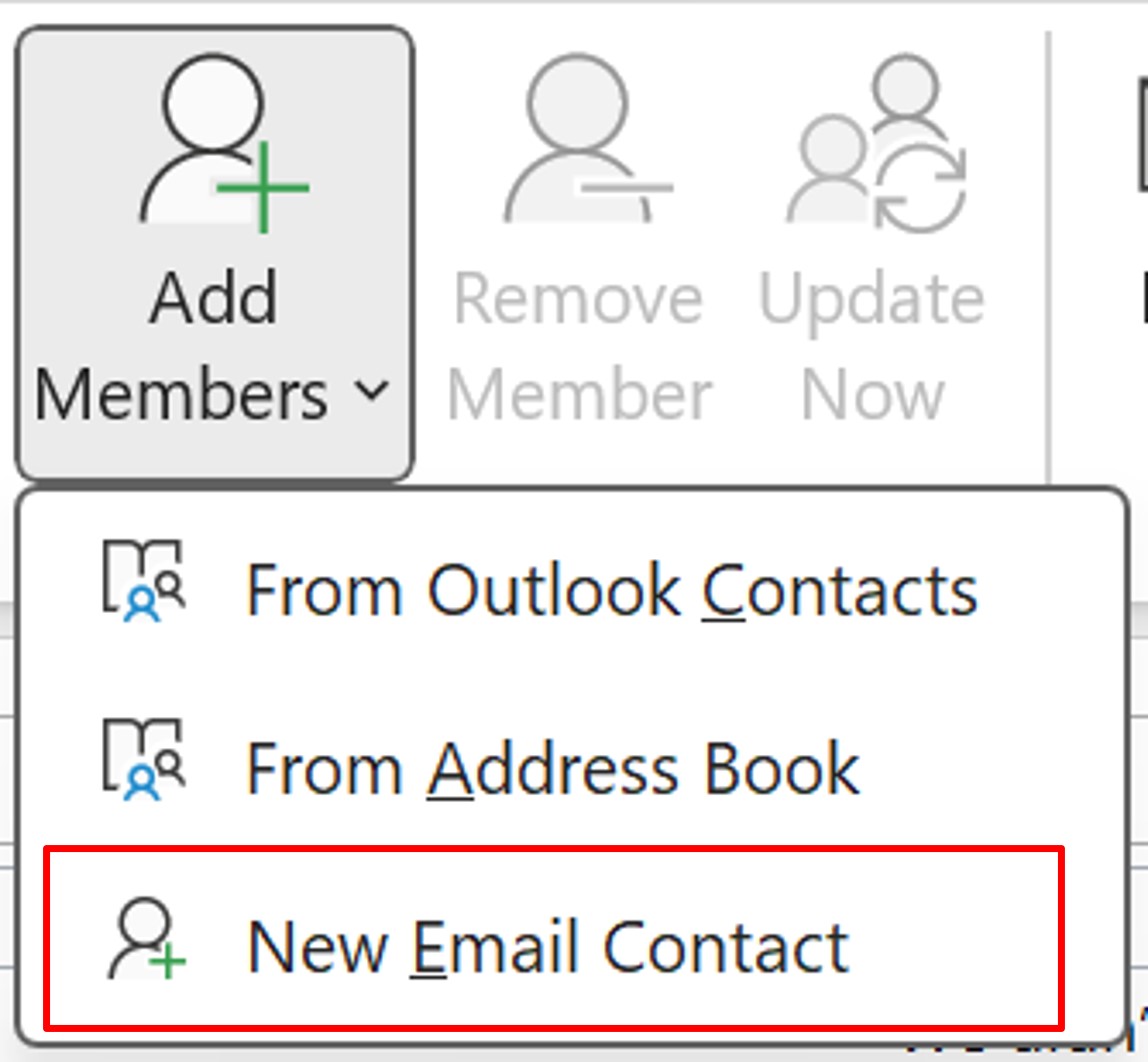
- New Email Contact
New Email Contact
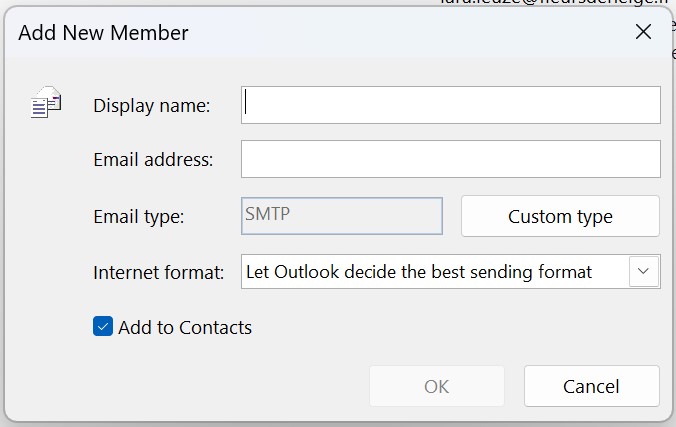
If you want to add a contact that isn‘t saved in your directory or company directory, choose New Email Contact. This allows you to enter the Display Name and the Email address.
This new contact will then be saved to your contact list.
Contact from a directory
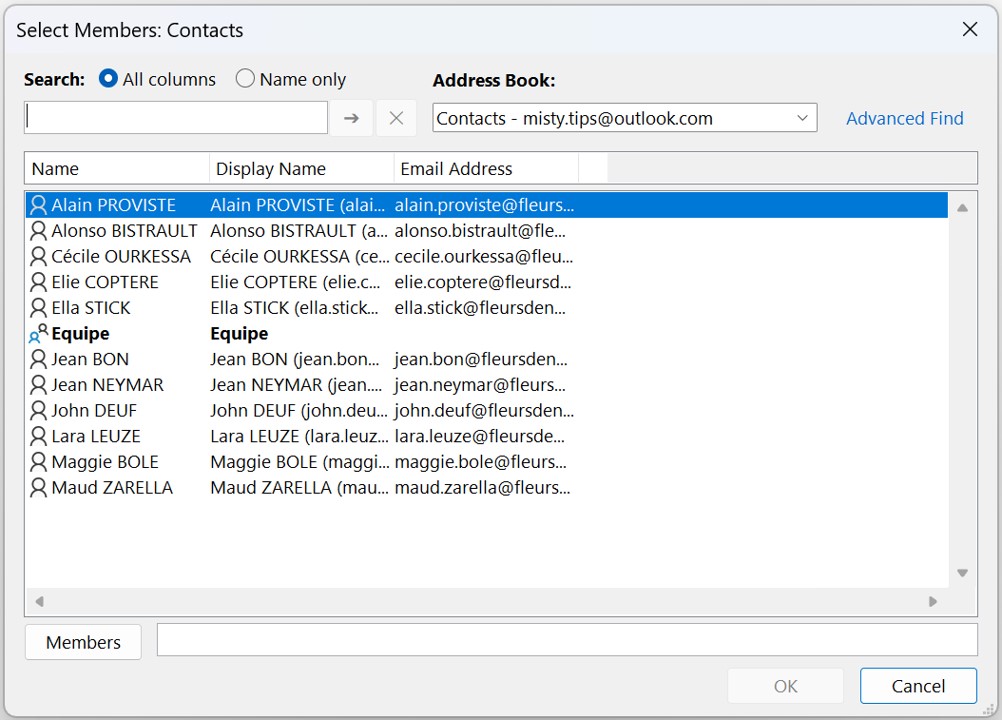
You can add contacts that are in your contact list and/or in your company directory.
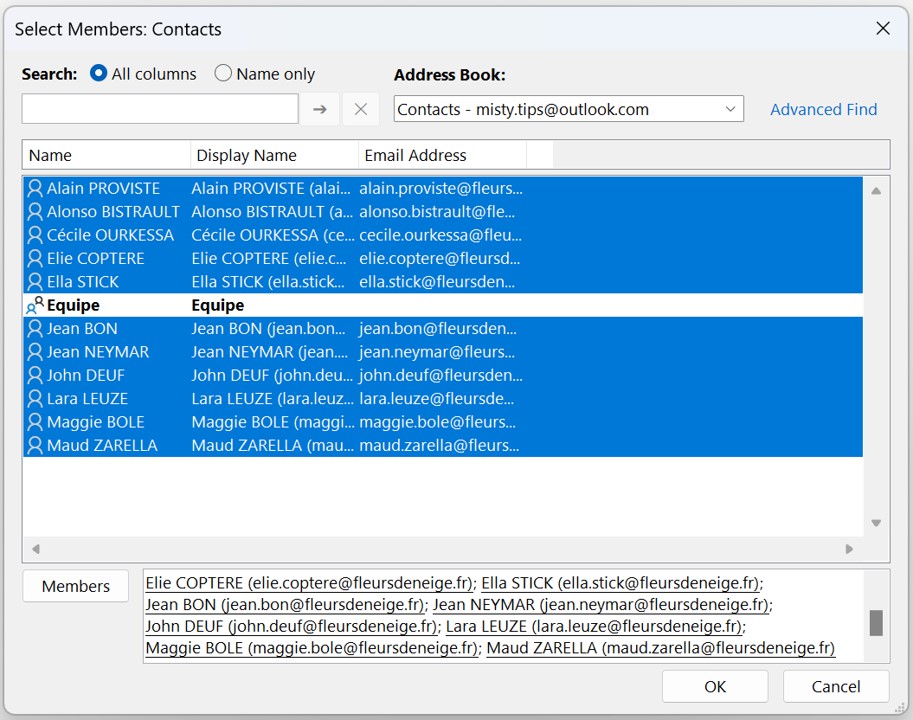
Select the contacts you want to add to the Group. Then click Members. Contacts are added in the members field. Then validate.
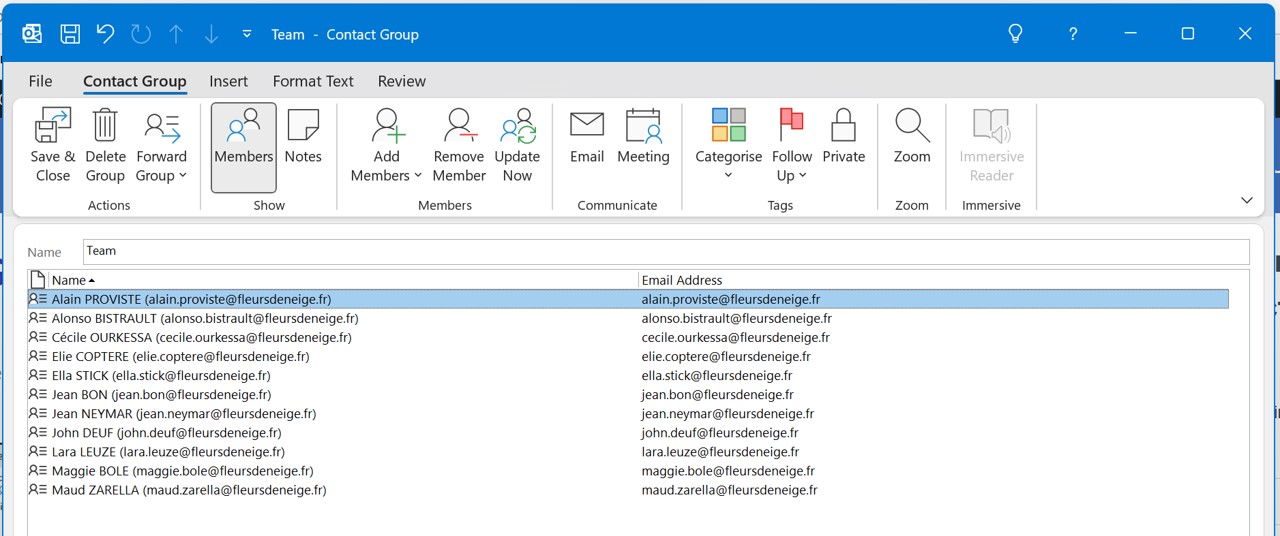
You have a holistic view of your contact group. You can add or remove members at any time. Click Save & Close to complete the creation of your contact group.
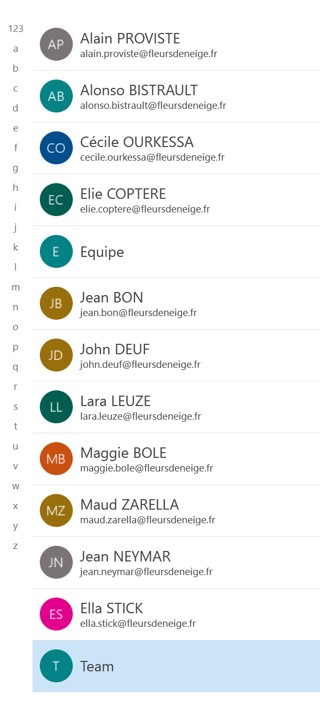
The Contact Group is integrated into your contact list.
You can edit it by double–clicking on it. This will open the previous window.
Using Contact Group
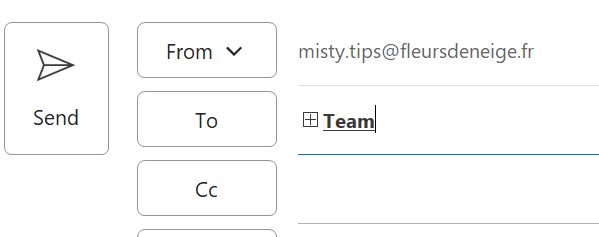
When you compose an email, in the To, Cc, Bcc fields, if you start typing the name of the contact group, Outlook will show it.
The + in front of the team name shows that you are sending your email to a distribution list.
When the email is sent, the Group opens. Recipients will see a list of all email addresses and not the name of the Group.


