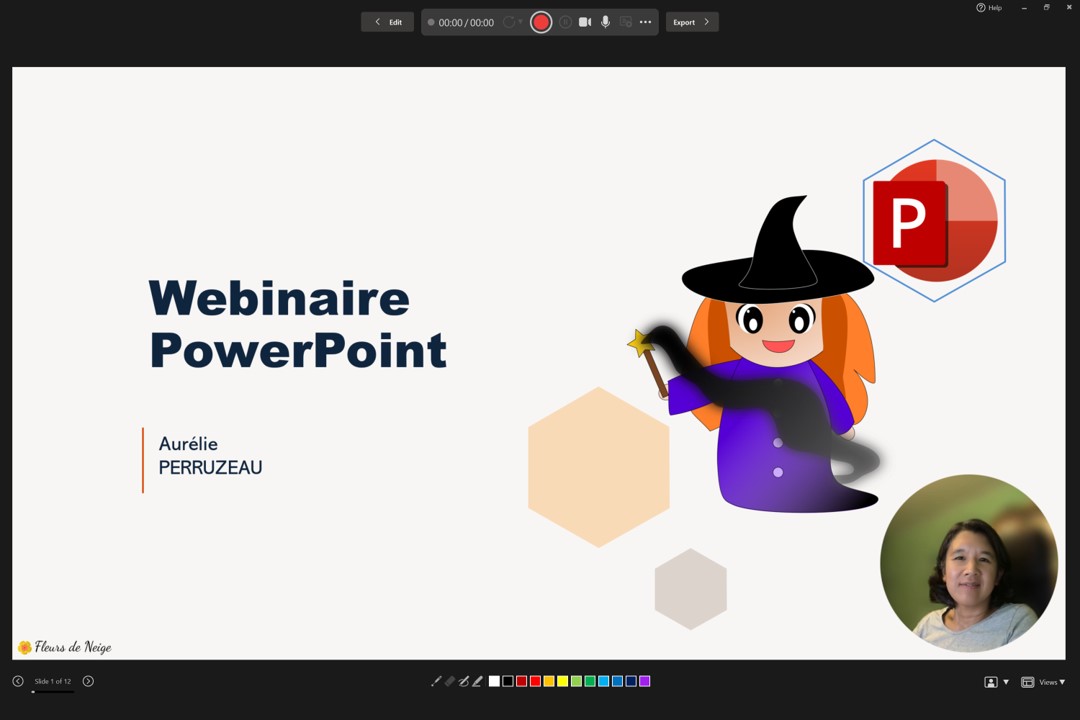
Transform your slideshow into an engaging video by adding a personal touch with your own cameo and voiceover!
The featured feature allows you to save a PowerPoint slideshow with voiceover. If you want to record your screen (using other apps), use Screen Recording instead.
Make a video of your slideshow
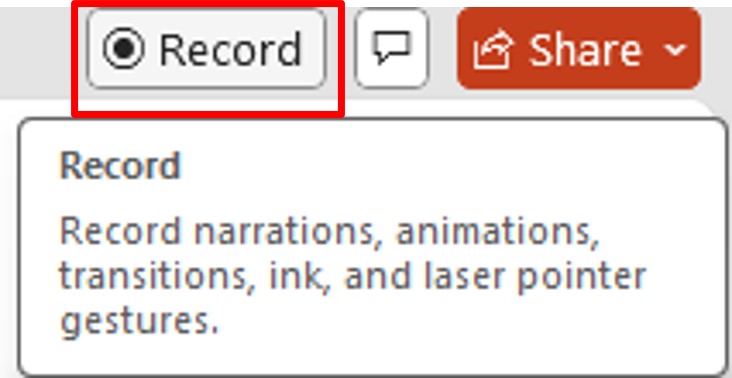
PowerPoint‘s Record feature allows you to make a video of your slideshow (with transitions and animations) accompanied by oral commentary and your head.
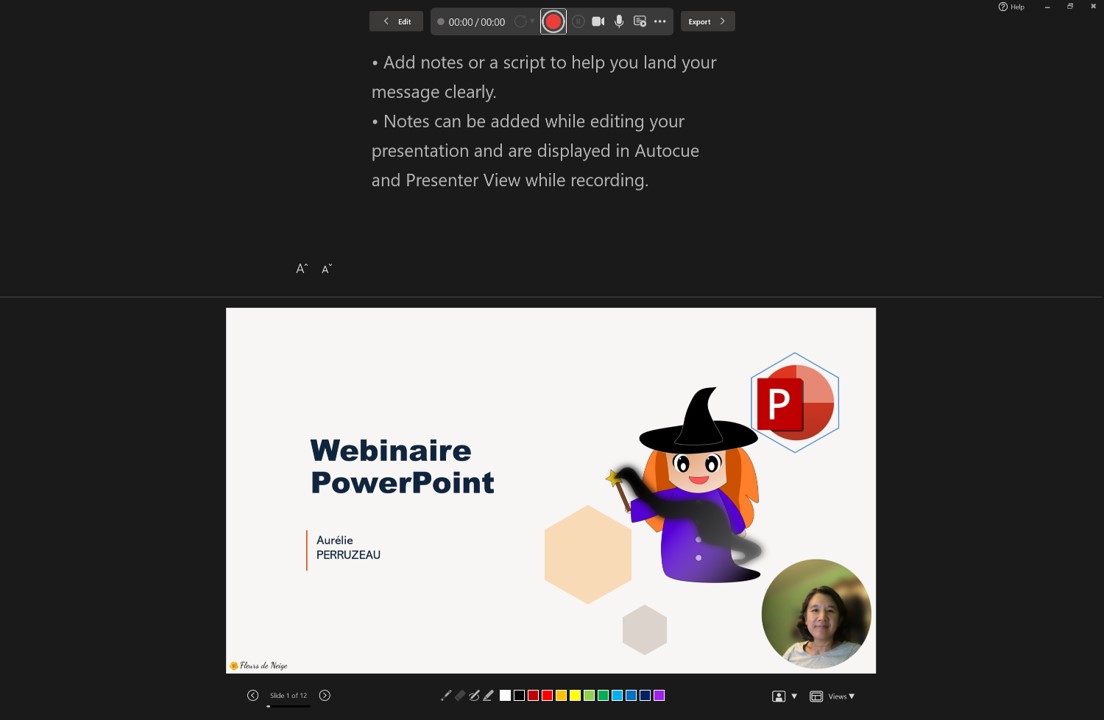
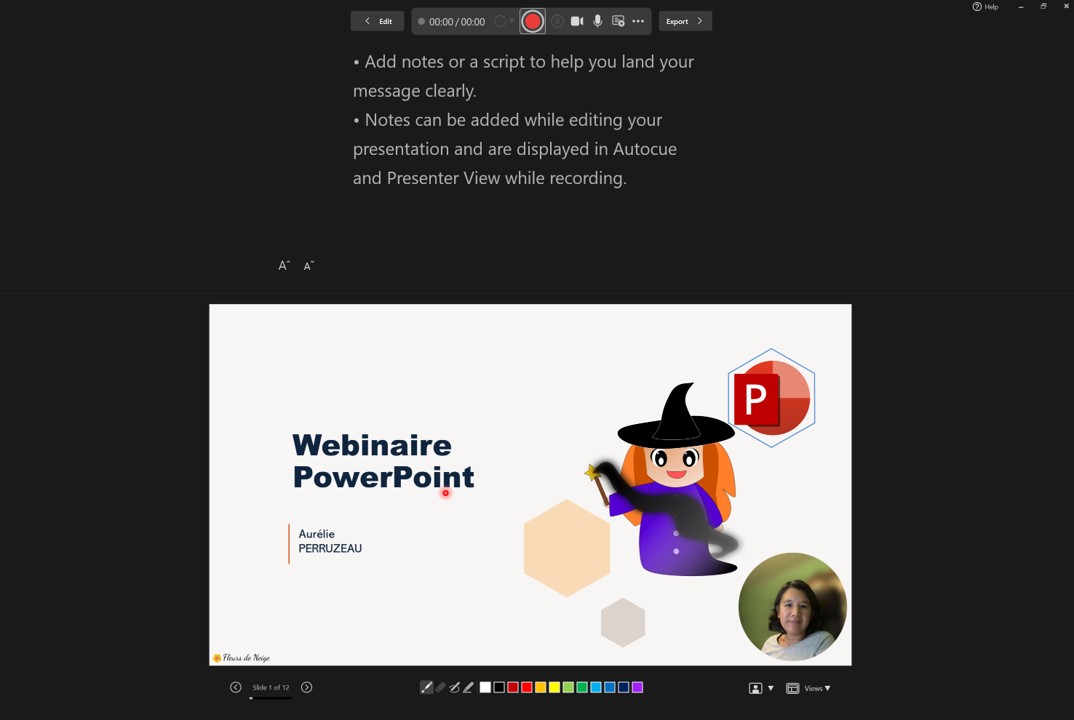
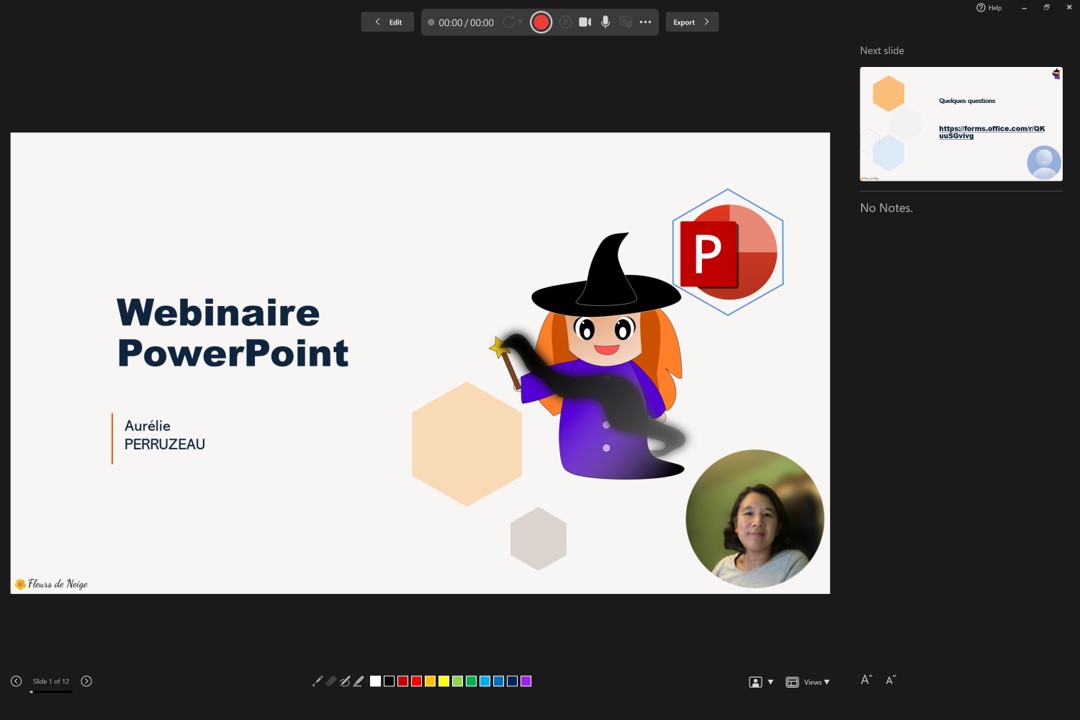
If you have two screens, 1 shows the slideshow in full screen and the other shows the window below.
If you have 1 screen, you will directly see the window below.
From this window, start recording. Then, scroll through the slides, commenting on them (or not).
You can choose to mute the video and/or the microphone.
A teleprompter will appear so you don‘t forget your text. This teleprompter takes the notes from the slides. You can scroll through the teleprompter and adjust the scrolling speed.
You can take breaks during your recording and resume afterwards.
During your presentation, you can use the pointer or even draw on the slides.
Once all the slides have been scrolled, a window offers you to export your video.
Description of the recording window
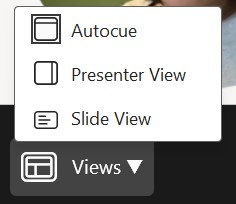
The recording window is divided into several parts.
Recording Controls
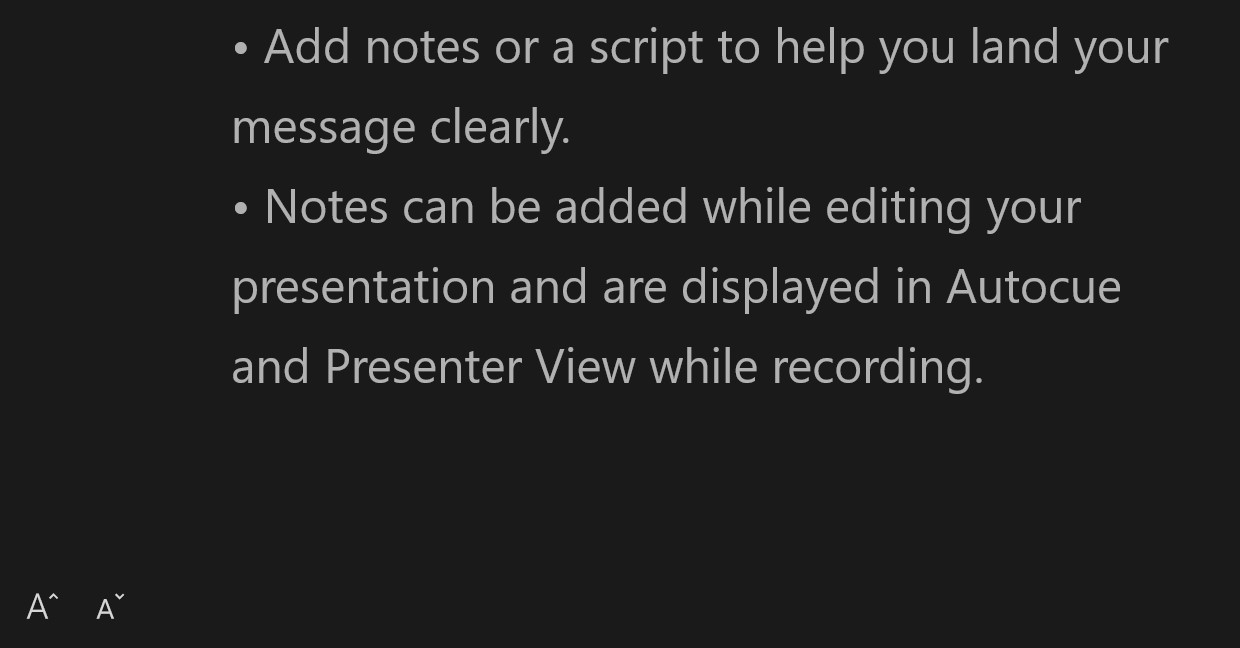
Notes Area / Teleprompter
To populate this section, you need to save notes on the slides (see PowerPoint: No more memory lapses with the use of notes).
You can adjust the display size of the text with the A^ Av buttons.
You can scroll through the prompter and adjust the scrolling speed.
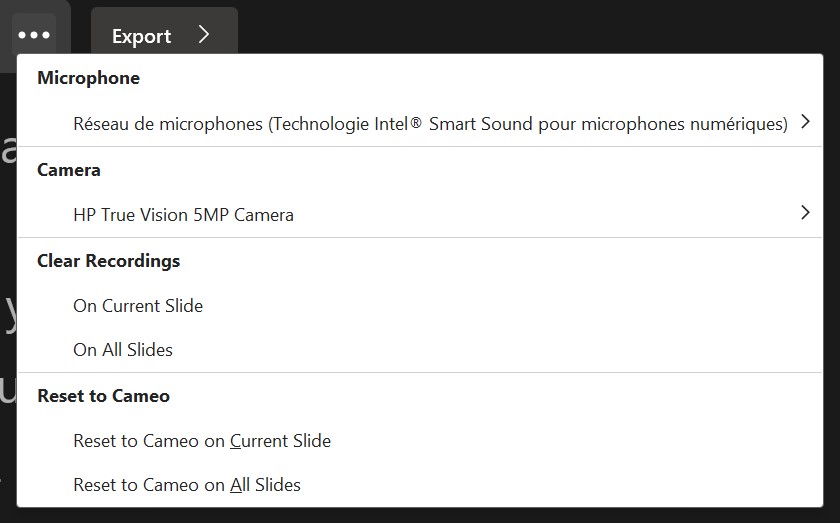
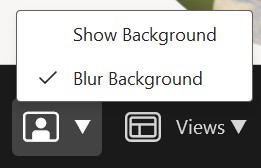
Setting up your AV equipment
Interaction parameters
You have access to several tools to point to places on slides or make ink entries.
The laser pointer allows you to show an area to illustrate your point.
The pen and highlighter are used to make ink entries (which will remain on the slides after recording). The eraser is used to erase entries.
Below: in yellow the highlighter and in red the pen.
You can change the colors of the pen and highlighter.

