When creating a form in Word, shifting dotted lines can disrupt the layout when fields are filled in. Learn how to create adaptive dotted lines.
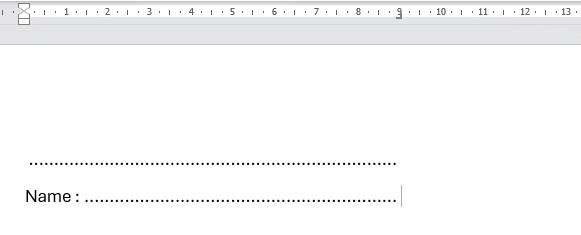
In a document, such as a registration form, it is often interesting to put a dotted line to show which fields need to be filled in.
To have a layout that doesn‘t move, despite filling in the fields, use tabs!
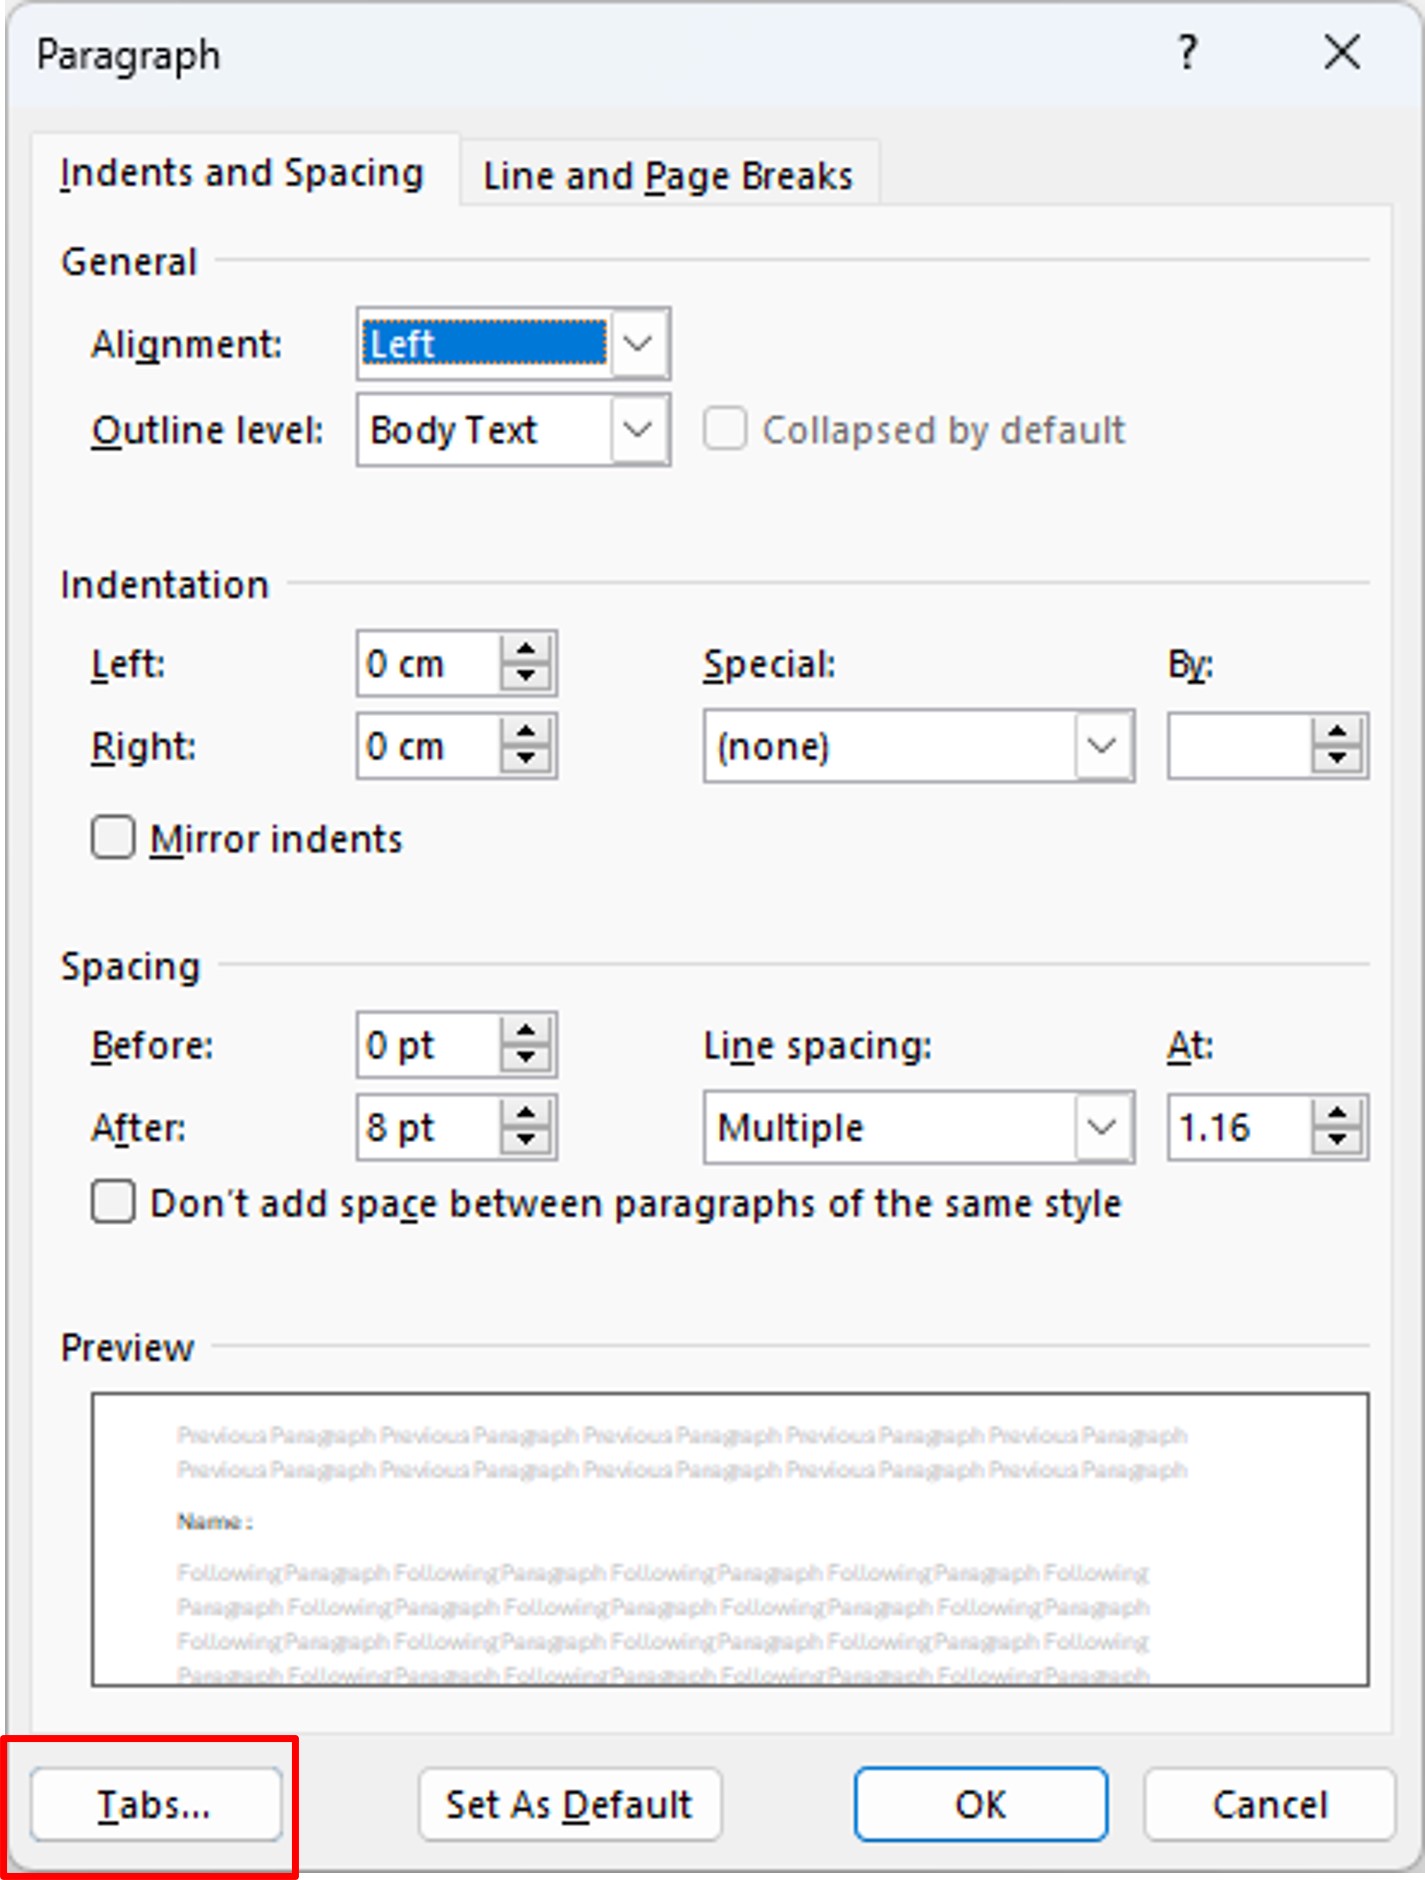
Setup a right tab
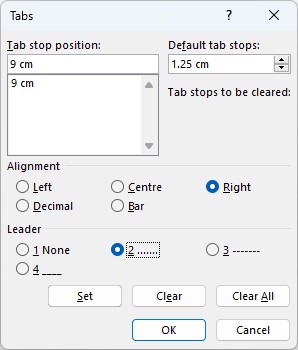
On the Tabs menu, in the Alignment category, click Right. Then, in the Leader box, choose what type of dots or dash you want.
If you already have multiple tabs defined in the Tab stop position, select the one you want before setting Alignment and Leader.


